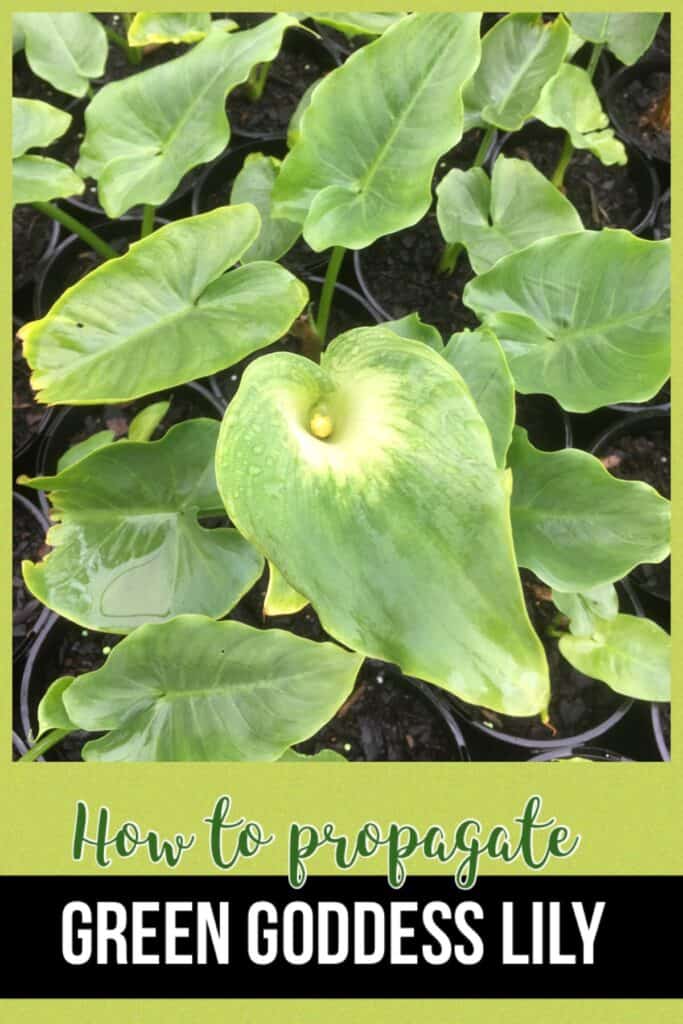
Propagating Zantedeschia aethiopica (Arum)
This is an article detailing how we propagate Zantedeschia aethiopica “Green Goddess”. This method will work on other varieties of Zandtedeschia (Arum lily).
This is an extremely easy plant to propagate. In this article we propagate using division, as it’s the fastest way to create new plants. Zantedeschia can also be easily propagated by seed but the plants will take longer to establish and will not flower for 2-3 years.
These plants were divided and potted in late winter. However these can be divided at any time of year provided they get plenty of water during the warmer months.
Green goddess is an evergreen arum lilly, so even throughout winter they still had foliage. The varieties that are dormant during winter and have no visible foliage can still be divided during this time provided you know where they are of course 🙂
Division
On this particular occasion we dug up a small shovel full from an existing clump we had in the garden. On other occasions we simply buy and divide from pots brought at a nursery, garden centre or our own stock.
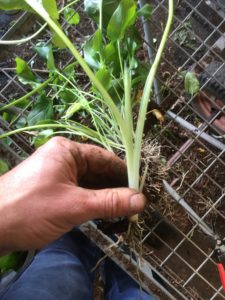
They dig up incredibly easy as the roots are quite delicate. Don’t worry about damaging the roots whilst digging, the most important part of the plant(for propagation) is the rhizome. Same if dividing potted plants, don’t be shy to just rip into the roots.
The plants will grow fastest if you have some foliage and roots with the rhizome, however as mentioned it is not necessary. The rhizome stores nutrients and will on it’s own 9 times out of 10 provide us with a viable plant.
We like to seperate the larger plants that have roots and foliage for potting directly into larger pots or even directly into the garden, pond or bog. Plants with no roots or rhizome only, we plant into small pots.
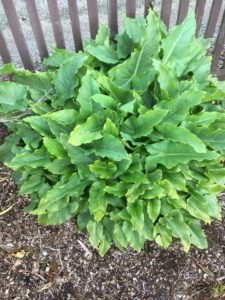
Digging clump of zantedeschia
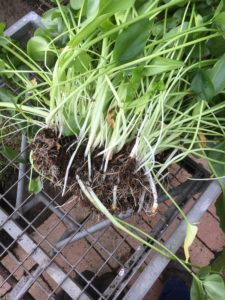
1 Shovel from clump
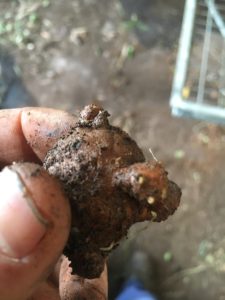
Zantedeschia rhizome
Potting
If potting into pots, use a good quality potting mix, with good levels of nutrients and trace elements. This will give your young plants the best start and faster growth.
As mentioned the larger plants with an existing root system can be planted directly into the garden, pond or bog. If planting into the garden, it may be beneficial to cut all the foliage off, leave 3-5″ of stem. This will reduce plant stress. If planting into pond or bog this is unnecessary. Once planted into the garden, water well, Arum’s love water.
Because we sell our plants, all of ours go into pots. We pot the larger plants with roots into a 140mm (6″) pot. We also feed them with a slow release fertiliser. This is only done to the plants with roots as the can absorb the extra nutrients. We then water thoroughly.
The small plants with no roots we plant into small 50mm (2″) pots. There is no reason to add fertiliser to these plants as they currently have no roots system capable of absorbing the nutrients. Again we water thoroughly.
We cut all the leaves off and leave a few inches of stem. This will help the plant focus on developing roots first and then foliage.
As mentioned, Zantedeschia love water so ensure the plants are kept well watered.
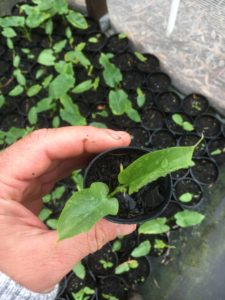
Plant with rhizome, foliage & root
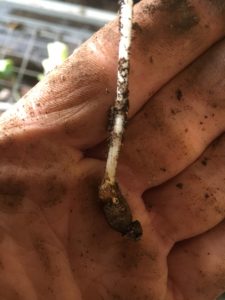
Rhizome & foliage only
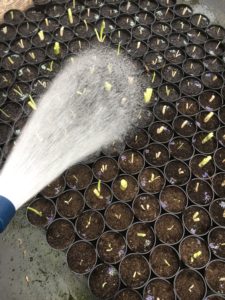
Watering potted plants
2 Months later
These plants grew very quickly and the pictures below will show the foliage and root growth they put on in the 2 months.
The larger plants in the 140mm (6″) pots had put on quite a few leaves and some were even starting to flower. The roots were filling the pots and beginning to emerge from the drainage holes.
The smaller 50mm (2″) pots had also begun growing 1 or 2 leaves, but remember there was no root system on these, only the rhizome. And in the 2 months the roots were making their way to the outside edges of the pot.
Below is a short video showing the above steps.
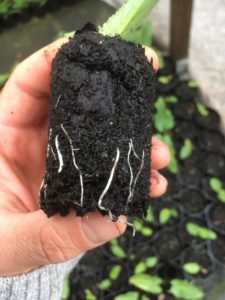
140mm (6″) After 2 months
50mm (2″) pot after 2 months
Rhizome only plant after 2 months
Seeds
Another method that can be used to propagate zantedeschia is seeds. Although its a much slower process, but kinda fun.
The flower stems on zantedeschia are long lived. Within these flowers the seed pods will form. (see picture).
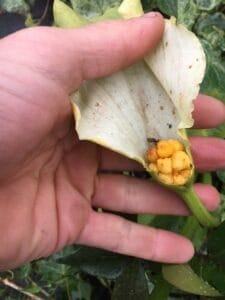
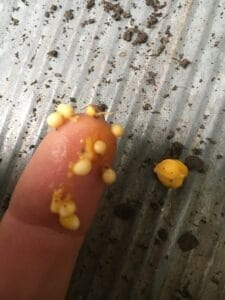
Within these seed pods are numerous seeds. The pods are have quite a lot of pulp and are quite sticky.
Simply remove the seeds and sow them in some good quality potting or seed raising mix.
Only cover the seeds in a thin layer of potting mix. Remember the general rule only cover a seed in as much soil as the size of the seed! So a 1mm seed only gets covered in 1mm of soil.
It took about 6 months for the seeds to germinate and produce plants large enough to pot into larger pots.
Below is another short video showing how we propagated some zantedeschia by seed.
We do hope this has been a helpful article and would love it if you would subscribe to our list. Happy planting:)
CLICK HERE TO SEE OTHER PLANTS WE PROPAGATE
Propagation Kit
We have also put together a resource page that contains links to the products we use or similar. If you want to check that out click the link.
Video on propagating Zantedeschia- by division
Video on propagating Zantedeschia- by seed
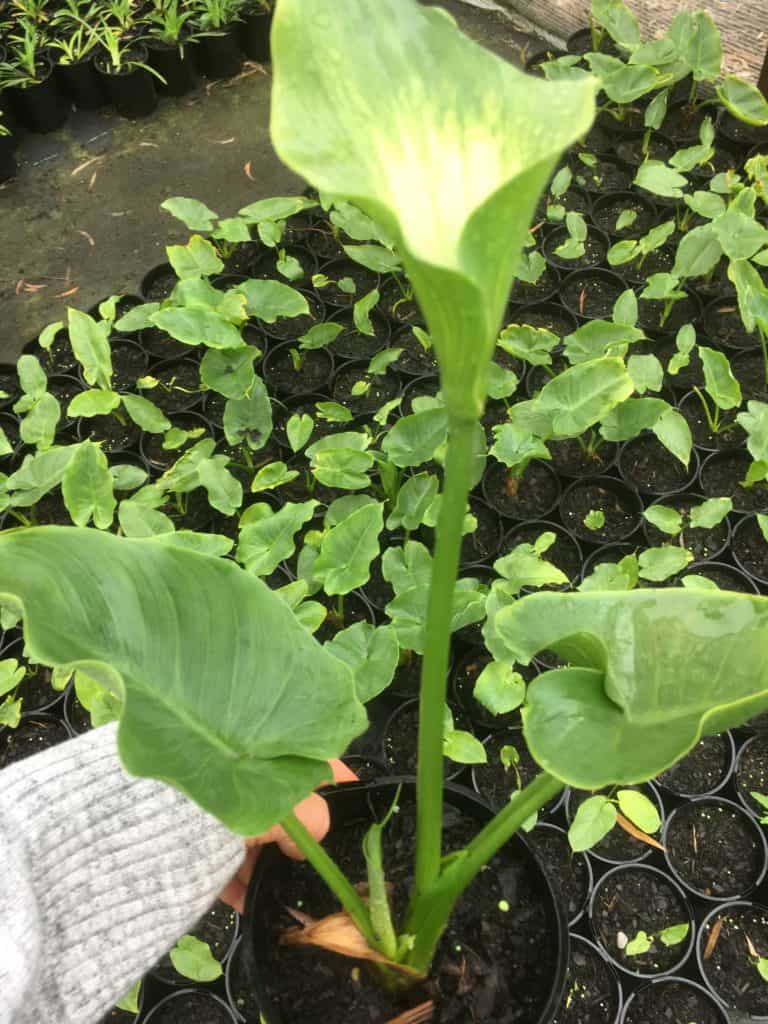
Zantedeschia aethiopica “Green Goddess” information
Green goddess is an evergreen arum lilly. Although Zantedeschia are not proper arum’s this is a common name given to them.
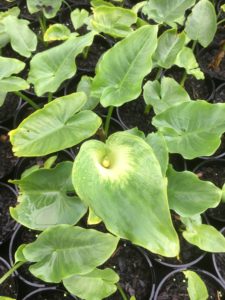
Green goddess produces trumpet shaped flowers from late winter into spring. In our experience, with our climate, it seems to flower sporadically throughout the year.
The flowers are an unusual mixture of green and white and tend to blend into the lush vibrant green foliage. The leaves become quite large on well established clumps.
Zantedeschia’s are ideally suited for areas with ample moisture. Bogs and pond margins are perfect. Would also work in a grey water wetland.
Whilst ideally they do prefer wetter conditions, the clump in our garden has been growing under a fully established cordyline for years. During the summer the ground there is dry and hard as a rock and the green goddess survives.
Can be grown in full sun and quite deep shade. It’s a very hardy plant and can be difficult to remove if no longer wanted.
We planted some in a very boggy area of the garden and they ran rampant. To fully remove I had to remove as much of the clumps as I could.
Because it keeps re-shooting from any remaining rhizomes, which then need to be dug out as they emerge or sprayed with a plant killing herbicide.
Cultural notes
Botanical name: Zantedeschia aethiopica “Green Goddess”
Common name: Arum lilly, Calla lilly
Family: Araceae
Native to: Southern Africa
Flowers: Late winter-spring
Position: Full sun/ part shade/ shade
Height: 90cm
Width: Clumps